
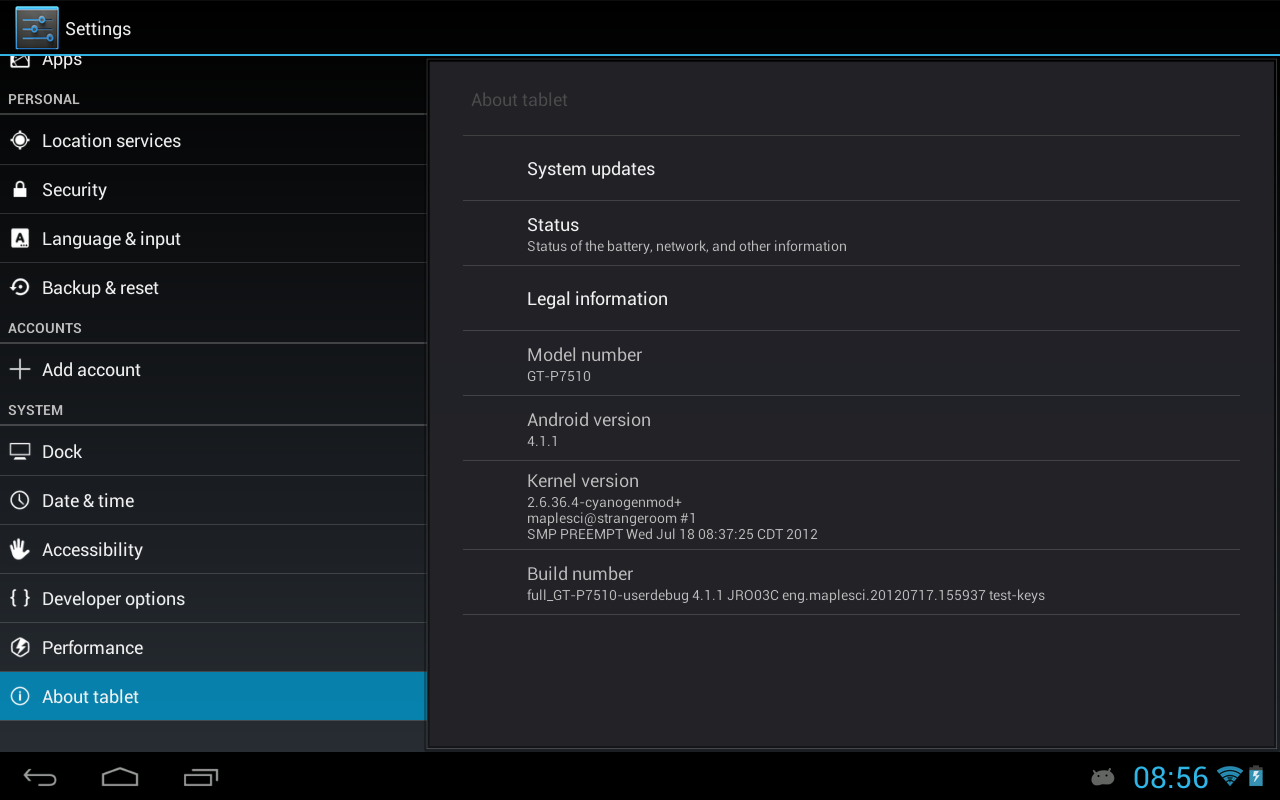
We don’t know when will the most anticipated Ice cream Sandwich will arrive for Galaxy Tab 10.1, but Android 4.1.1 is here. The latest Android v4.1 aka Jellybean is now available for Galaxy Tab GT-P7510 & GT-P7500 and SCH-I905. XDA developer MapleSyrup developed an AOSP ROM for GalaxyTab 10.1, but they will run on the other two devices as well. The ROM is in its ALPHA BUILD, ie: is experimental so some of the things might not work.
NOT WORKING
– Camera
– 3G (for the P7500)
– 4G (for the SCH-I905)
– AGPS (network based location)
WORKING
– Wi-Fi
– Audio
– HW accelerated video [Just GT-P7510, at the moment]
DISCLAIMER: Install or Not is not responsible for any damage that happens to your device. Flash this at your own risk.
Before starting with the installation process make sure you backup everything you need, in case something goes wrong a factory reset is needed. If you are not already on a custom ROM, remember that root system access is required.
Check that you have the latest and correct version of the recovery for your model. If you don’t do this you’ll get assert error 7 when trying to install.
For CWM: [Recovery] ClockworkMod – 5.5.0.4
For TWRP:[Recovery] Team Win Recovery Project (TWRP) – 2.2.0
A full wipe is recommended, also formating /system . (Do this before reporting problems)
DOWNLOADS
Wi-Fi Only (GT-P7510) -> 20-07-12.16-09-jellybean-alpha-p4wifi-sig.zip
Wi-Fi+3G (GT-P7500) -> 18-07-12.09-44-jellybean-alpha-p4-sig.zip
Verizon LTE (SCH-I905) -> 18-07-12.11-18-jellybean-alpha-p4vzw-sig.zip
Google Apps -> gapps-jb-20120716.zip
[GT-P7500 & SCH-I905 ONLY]: There’s a problem with the performance settings, flash this after installing the ROM: CPUscalingFix-sig.zip
All done? Now follow these steps:
- Install CWM via Odin. If your device is rooted then you may skip this step.
If you don’t know how to install CWM then, click here. - After installing CWM, boot the device into ClockworkMod Recovery by pressing and holding the power key and the Volume down and Volume up key all together.
Let go of the Power button when the screen turns on but keep holding the Volume buttons until you see a menu. Press the Volume Down key to highlight the Recovery Mode icon, then press the Volume Up key to enter Recovery Mode. - Create a Nandroid Backup of your current ROM so that you can easily restore it. Select Backup and Restore > Backup and go back to the main recovery menu afterwards.
- Select Wipe Data/Factory Reset > Yes and wait for the wiping to complete.
- Select Install ZIP from SD Card > Choose ZIP from SD Card and select the ROM’s ZIP file. Wait for the flashing to finish.
Here the zip will be the respective ROM that you have downloaded earlier. - Repeat step 5, but this time choose the Google Apps zip package this time.
- Return to the main menu and select Reboot now.
And your Galaxy Tab will be now running on Jelly Bean.
Look at the XDA thread for more details.


")

