It’s been a couple months since the OnePlus 7 Pro, OnePlus 7T and OnePlus 7T Pro are out in the market up for sales. The devices itself look so great and satisfying, and the display, wow, thanks to the 90Hz display. Everything with the device looked so great at the launch event along with the camera where DxOMark gave a whopping score of 111 points. But the actual scene behind the camera proved to be a real downside in the actual world. Nowhere to complain, but DxOMark’s scores really don’t portray the device’s camera properly this time.
Although the device is priced comparatively less than the other competitors such as the Google Pixel 3, the Samsung Galaxy S10+, and the iPhone XS, this is certainly not what we expect from OnePlus. The camera performance may still be improved via the software updates but there are some issued which they can’t necessarily fix as expected.
And right here, the Google Camera mods (GCam Mod) come into the picture helping to unleash the camera sensor to its full potential and provide us with the best images. All thanks to Google for making their camera app open source which helped various developers to work on them and mod them preferably in order to work with certain devices. The GCam Mods make use of Pixel’s computational photography algorithms to provide us with stunning quality images along with added features like Night Sight and Photobooth.
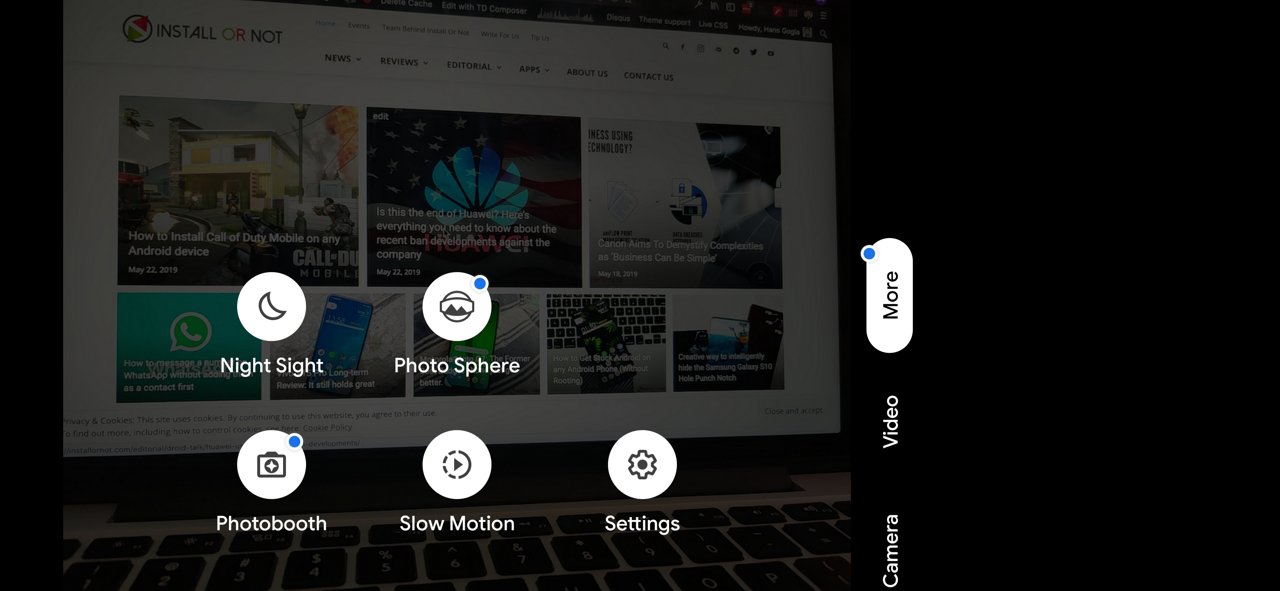
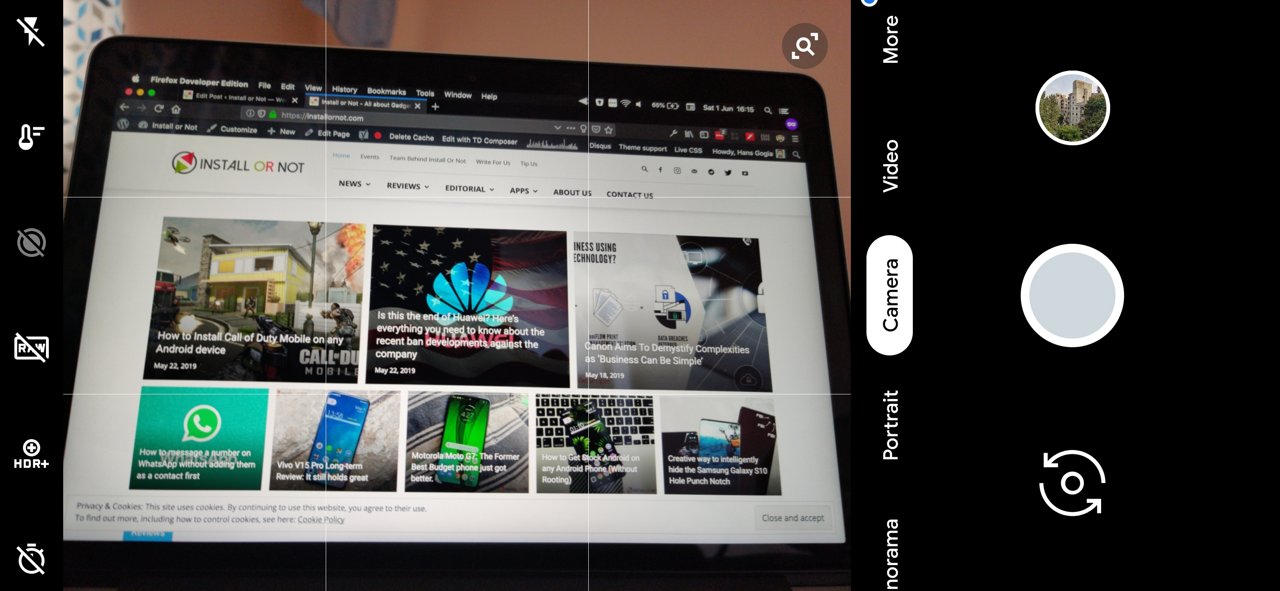
Now, if you are a nerd who bought the OnePlus 7 Pro, we presume you are waiting for the GCam mod to be available for the device. Well, here it is along with a step by step guide helping you install it. You can also check out the various results and variations we found between the images taken from the stock camera app and the GCam mod app.
How to download and install the GCam mod on the OnePlus 7 Pro
- First off, you have to download the GCam mod APK file and the Config file. Download the APK file and Config file by visiting these links.
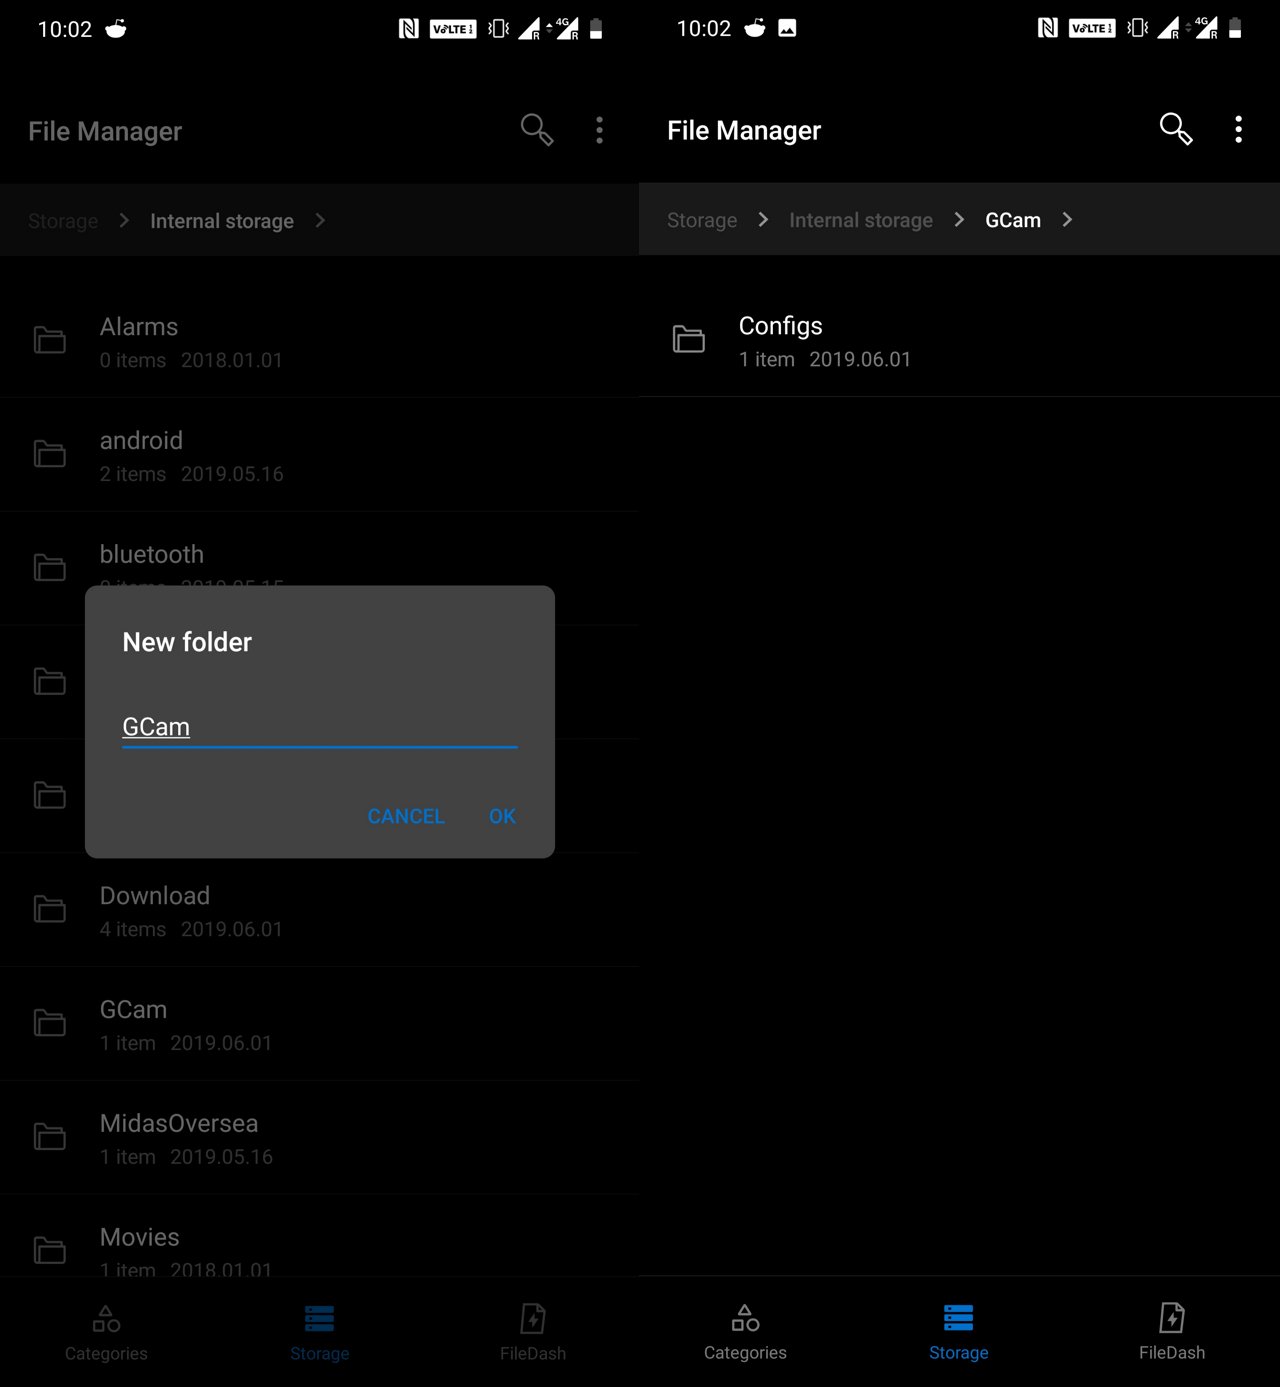
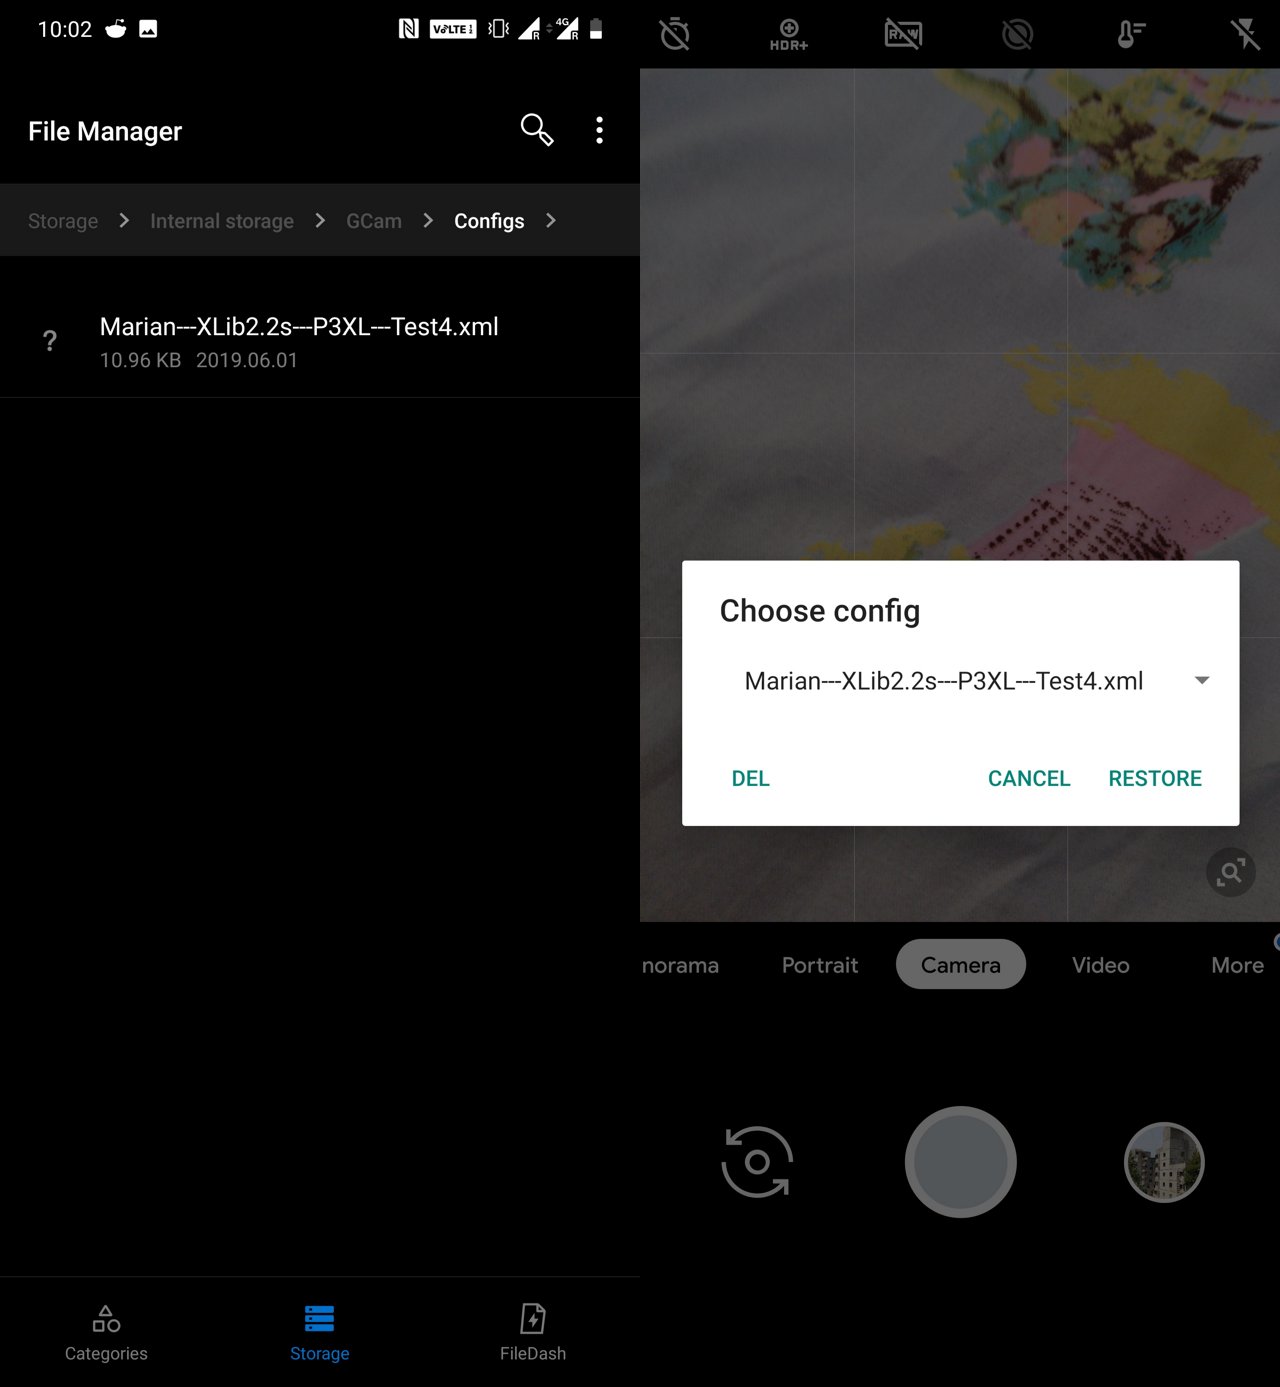
- Now, after you downloaded the above files, first go to your file explorer and create a folder named ‘GCam’ in the home directory as shown below. Now, create another folder names ‘Configs’ in the ‘GCam’ folder and paste the downloaded Config file over here.
- Once the above step is done, just go ahead and install the GCam mod APK that you have downloaded. If you get a prompt to install apps from unknown sources, approve it.
- Now, open the installed GCam mod app and allow all the permissions needed.
- Next, double tap in the black area next to the shutter button to open a dialog, select the config file and hit on restore.
- In case you want to customize the image quality somehow, just head over to the settings and change as per your preference.
- That’s it, you are all set to go. Open the app and start clicking them photos.
If you want to try out the GCam mods from previous devices, we found the Mi 9 GCam mod to be the best. Here is the link to download and test it out. Good thing is that this doesn’t even need you to set up the config file.
If you want to follow the developers work and use the beta GCam mods, here are the links to them:
However, we suggest you to install the first APK in the procedure given for the best results. If you wanna try and check out more, you are always welcome. Anyways, all thanks to the developers who made this possible and we hope that the best is yet to come.


